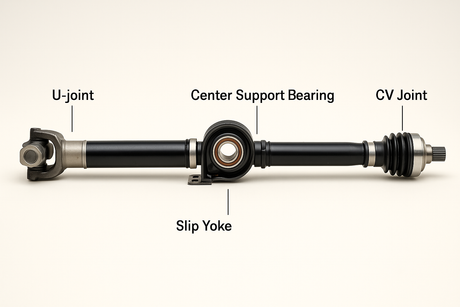
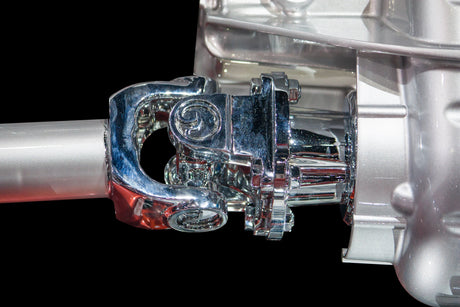
Accurate measurement of universal joints (U-joints) is crucial for ensuring a smooth and vibration-free operation of your vehicle's driveshaft. This guide will provide you with easy-to-follow steps to measure U-joints correctly.
Tools Needed:
- Vernier Caliper or Accurate Ruler
- Notepad and Pen
- Safety Gear (Gloves, Goggles)
Steps to Measure Universal Joints:
-
Identify U-Joint Type:
- Determine Configuration: U-joints come in various configurations such as 1310, 1330, or 1350 series, among others. Identifying the type will make it easier to match the correct size.
- Visual Inspection: Look for manufacturer markings or use a visual inspection to recognize the U-joint series.
-
Measure the Cross Trunnion Width:
- Vertical Measurement: Measure the overall width of the U-joint from one end of the cross-trunnion to the other, including the caps if they are attached.
- Record Measurement: Note the width precisely. For example, a 1310 U-joint typically measures 3.219 inches across the trunnions.
-
Measure the Cap Diameter:
- Cap Removal (if necessary): If caps are present and accessible, measure the outside diameter of one of the caps.
- Accurate Reading: Use a vernier caliper for the most accurate measurement.
- Record Measurement: Document the cap diameter. For example, a 1310 U-joint's cap diameter typically measures 1.063 inches.
-
Measure the Overall Length:
- From Cap to Cap: Measure the overall length of the U-joint from the outer edge of a cap on one side, across the trunnion, to the outer edge of the cap on the opposite side.
- Record Measurement: Note down this length accurately, keeping in mind variations based on the U-joint series.
Types of U-Joints and Their Measurements:
-
1310 Series:
- Trunnion Width: 3.219 inches
- Cap Diameter: 1.063 inches
-
1330 Series:
- Trunnion Width: 3.625 inches
- Cap Diameter: 1.062 inches
-
1350 Series:
- Trunnion Width: 3.625 inches
- Cap Diameter: 1.188 inches
Additional Tips for Accurate Measurement:
-
Clean the U-Joint:
- Remove Dirt and Grease: Ensure the U-joint is clean before measuring to avoid inaccuracies.
- Inspect for Wear: Check for signs of wear or damage that might affect the fitting.
-
Double-Check Measurements:
- Consistency: Measure multiple times to confirm consistency.
- Use Calipers: Preferably use vernier calipers for the most precise measurement.
-
Document and Label:
- Record All Measurements: Keep a detailed record of measurements including notes about the U-joint series and any specific features.
- Label U-Joints: If you are measuring multiple U-joints, label them for easy identification.
Troubleshooting Common Issues:
-
Inconsistent Measurements:
- Recheck Tools: Ensure your measuring tools are calibrated correctly.
- Clean Carefully: Reclean the U-joint and measurement tools to remove any obstructions.
-
Unexpected Sizes:
- Consult Manual: Refer to the vehicle’s service manual for specifications.
- Compare with New U-Joint: Compare measurements with a new, similar U-joint to identify any discrepancies.
-
Fitment Problems:
- Check Compatibility: Confirm the U-joint series matches the yoke and driveshaft specifications.
- Inspect Yoke: Ensure the yoke is not damaged or deformed, affecting the U-joint fitting.
Conclusion:
Properly measuring your universal joints ensures a precise fit, preventing driveline vibrations and ensuring smooth vehicle operation. Following this guide will help you measure U-joints accurately and effectively, ensuring your driveshaft performs at its best. Always double-check your measurements, document your findings, and consult with professionals if any uncertainties arise.


